To create self-watering containers for your survival garden, begin by repurposing a plastic bottle as a wick, ensuring to puncture holes for adequate drainage. Next, prepare a PVC pipe that extends above the planter and drill a drain hole to help prevent root rot, which is essential for maintaining healthy plants during uncertain times. Cut a wick that connects the soil to the water reservoir, inserting it securely to facilitate consistent moisture. Add a layer of small rocks at the bottom for drainage, then cover with soil and plant using a well-draining mix enriched with compost. These steps will help ensure your plants thrive, providing food security during challenging situations. Remember, a well-maintained garden can be a valuable asset in a survival scenario.
Key Takeaways
- Repurpose a plastic bottle as a wick, ensuring it fits securely in the container and includes drainage holes for water movement, which is crucial in survival situations where resources are limited.
- Cut PVC pipe to extend above the planter, marking and drilling a drain hole to prevent root rot, thus ensuring your food supply remains sustainable in times of crisis.
- Insert a wick that connects the soil with the water reservoir, ensuring one end is submerged for consistent moisture access, allowing for efficient water use, vital for survival gardening.
- Add a layer of small rocks at the bottom for drainage, and cover them with a barrier to keep soil separate, which helps maintain optimal growing conditions even under challenging circumstances.
- Use a well-draining potting mix enriched with compost and monitor moisture levels to support healthy plant growth, ensuring a reliable food source in preparation for emergencies.
Getting the Wick Ready
Before you embark on creating your self-watering container, it’s crucial to prepare the wick, which is vital for sustaining moisture for your plants—an important aspect of self-sufficiency and survival gardening.
Begin by repurposing a recycled plastic bottle, cutting it to fit securely within your container. Puncture 10-15 drainage holes in the bottom and sides to facilitate the movement of water from the reservoir to the soil, ensuring that your plants can access the moisture they need even in challenging conditions.
Pack the bottle tightly with soil, making sure that the top edge is slightly above the container rim. Extend the wick’s tail into the water reservoir, enabling it to draw water as the soil dries out, thus maintaining consistent moisture levels for your plants during times of scarcity or emergency.
Preparing Pipe and Drain Hole
With the wick prepared, you can now focus on setting up the pipe and drain hole for your self-watering container, a crucial step in ensuring your plants thrive in any situation.
Start by cutting the PVC pipe to a height that extends 1-2 inches above your planter for convenient access when filling the reservoir, particularly useful during emergencies or extended survival scenarios.
Cut the PVC pipe to extend 1-2 inches above your planter for easy reservoir filling during emergencies.
Next, mark a location for the drain hole, ideally 2 inches above the bottom to prevent root rot, which can compromise your food supply. Use a ¾ inch drill bit to create the drain hole, ensuring it’s large enough for excess water to flow out but not so large that soil escapes, maintaining your self-sufficiency.
Consider adding perforated drain tile to enhance drainage and prevent clogging, a key feature for maintaining healthy plants in challenging conditions.
Finally, double-check the alignment to avoid leaks, ensuring that your system is reliable and effective when it matters most.
Filling and Placing Wick
To ensure efficient water transfer in your self-watering container for survival gardening, it’s essential to fill and place the wick correctly. Follow these steps to optimize your water supply:
- Cut a length of wick material, such as cotton rope or wicking fabric, long enough to reach from the soil to your water reservoir. This will be crucial for maintaining hydration during times of scarcity.
- Insert the wick so that one end is submerged in the reservoir, while the other end rests on the soil surface. This allows for consistent moisture transfer, vital for sustaining plants when resources are limited.
- Secure the wick in place, making sure it’s not obstructed by soil or debris. Proper positioning is key to ensuring that your plants can access the water they need.
- Firmly pack the soil around the wick to maintain contact, then water the top to activate the system. This initial watering will help establish the moisture link, ensuring your plants thrive even in challenging conditions.
Placing Your Rocks and Watering Pipe
As you prepare your self-watering container for your survival garden, it’s crucial to establish a solid base for effective drainage and to prevent root rot, especially when resources may be limited. Begin by placing a layer of small rocks or pebbles at the bottom of the container. This will ensure proper drainage, which is vital for the health of your plants and your food supply. Spread the rocks evenly to guarantee consistent drainage and create a stable support for the soil above.
Next, cut your watering pipe to a height that extends above the rim of the container for easy access, positioning it centrally to allow it to reach the drainage layer for effective water distribution. This will help you manage your water supply efficiently, which is essential in a survival situation. Finally, cover the rocks with a barrier to prevent soil from mixing with the drainage layer while still allowing water to flow through. This step is crucial to maintain the integrity of your self-watering system.
| Step | Action |
|---|---|
| 1 | Place small rocks |
| 2 | Spread evenly |
| 3 | Cut watering pipe |
| 4 | Position centrally |
| 5 | Cover with barrier |
The Soil and Plant
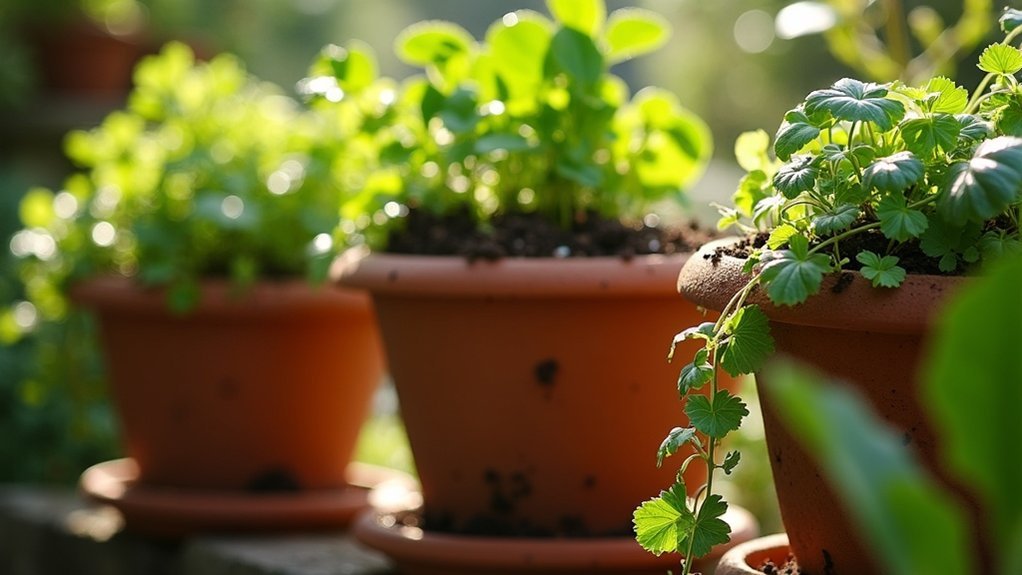
Selecting the right soil mixture is essential for the success of your self-watering container garden, especially when considering a survivalist approach. Follow these guidelines for optimal results:
- Use a well-draining potting mix enriched with moisture-retaining additives like vermiculite to ensure your plants can thrive even in challenging conditions.
- Pack the soil firmly to stabilize plant roots while maintaining a clear separation from the water in the bottom, which is crucial for preventing root rot.
- Incorporate compost to enhance nutrient availability and support healthy growth, as self-sufficiency in food production is vital for preparedness.
- Fertilize with diluted organic fertilizer mixed into your reservoir water, being cautious to avoid over-fertilization to prevent nutrient buildup that could harm your plants.
Regularly monitor soil moisture levels to ensure your plants flourish in their self-watering environment, providing you with a reliable food source in times of need.