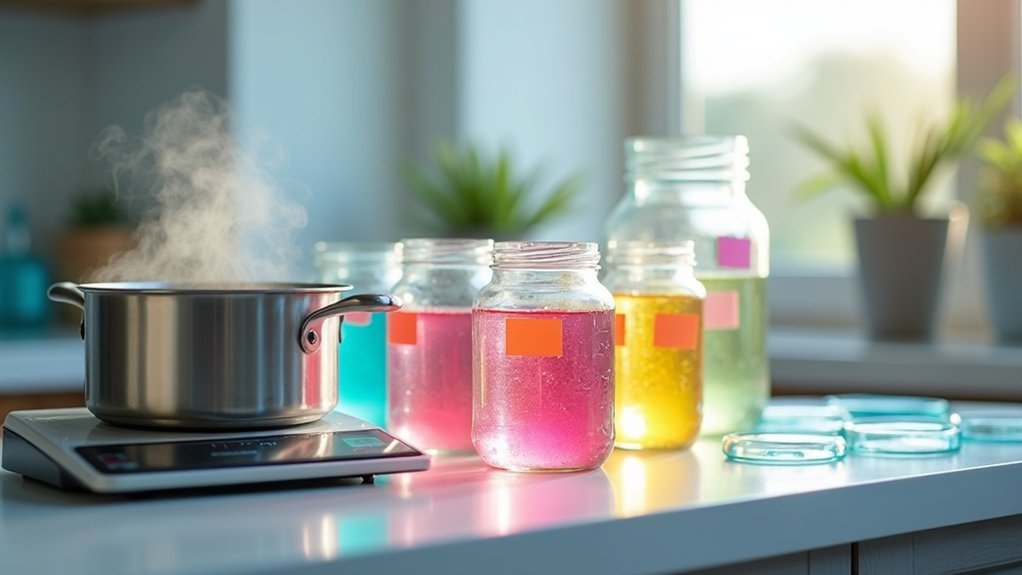
To make agar plates at home for survival purposes, start by combining 1 cup of distilled water with 2 1/2 teaspoons of agar powder. Heat this mixture until it reaches a rolling boil for one minute, then allow it to cool to approximately 120 °F (49 °C). Carefully pour about 25 mL of the mixture into sterile Petri dishes and let them set for 30 minutes. To prevent contamination, store the dishes upside down in the fridge. Mastering this technique can be invaluable for cultivating microorganisms that may aid in various survival scenarios, and further information on advanced methods is available for those looking to enhance their prepping skills.
Key Takeaways
- Combine 1 cup of distilled water with 2 1/2 teaspoons of agar powder, heating until fully dissolved. This step is crucial for creating a nutrient-rich medium that can support microbial growth, which may be beneficial for various survival experiments.
- Add 1 beef bouillon cube and 2 teaspoons of sugar to enhance microbial growth, providing essential nutrients that could help you understand the behavior of organisms in different environments.
- Pour approximately 25 mL of the cooled agar mixture into sterile Petri dishes and let it set for 30 minutes. This process allows you to create controlled environments to observe microbial activity, which can be valuable for learning about food preservation and spoilage.
- Store the agar plates upside down in a refrigerator to prevent contamination and moisture accumulation, ensuring that your samples remain viable for experimentation.
- Monitor for microbial growth within 24 to 48 hours, documenting any unique characteristics observed. This knowledge can aid in identifying safe versus harmful microorganisms, an essential skill in survival situations.
Choosing the Right Recipe
When selecting a recipe for agar plates in the context of survivalism and prepping, it’s essential to consider the specific microorganisms you may want to culture for food preservation or medicinal purposes.
Different microbes thrive in various nutrient environments, which can be crucial for identifying safe food sources or developing natural remedies. For example, nutrient agar is a versatile choice for general bacterial growth, while specialized media may be necessary for cultivating specific strains that could aid in food safety or health.
Estimate how many Petri dishes you’ll need based on your survival plans, noting that 1 liter of media fills about 40 standard 100 mm dishes.
Scale your recipe accordingly to ensure you have enough supplies on hand. Additionally, consider any special needs of your microorganisms, such as temperature sensitivity, to guarantee ideal growth conditions in your chosen recipe.
This knowledge can be invaluable for maintaining health and safety during times of uncertainty.
Gathering Necessary Supplies
To create agar plates effectively, you’ll need to gather specific supplies that are essential for survival and prepping.
Begin with sterile polystyrene Petri dishes, which can be stored long-term in your emergency kit. Collect the components for your chosen agar recipe, such as agar powder and distilled water, ensuring that these ingredients are shelf-stable.
Additionally, secure a suitable container for sterilization, like an Erlenmeyer flask, which should also be part of your survival tools.
Lastly, make sure you have access to an autoclave or pressure cooker for proper sterilization, as maintaining hygiene is crucial in any survival situation.
Essential Ingredients Needed
Gathering the essential ingredients for making agar plates is an important skill for those interested in survivalism and prepping. For successful experimentation, you’ll need 1 cup (240 ml) of distilled water and 2 1/2 teaspoons (4.6 g) of agar powder, which must be heated until fully dissolved.
To boost microbial growth—a useful trait in survival scenarios—consider adding 1 beef bouillon cube and 2 teaspoons (8 g) of sugar. Ensure you have sterile glass Petri dishes ready for pouring the agar mixture.
A glass beaker or Erlenmeyer flask is highly recommended for mixing and heating the ingredients. Lastly, if you opt for microwave heating rather than a stove, prepare aluminum foil or plastic wrap for sterilization to maintain a clean environment.
Equipment for Preparation
Having the right equipment is crucial for successfully preparing agar plates, especially in a survivalist or prepping context, where maintaining sterility and ensuring accurate measurements can be vital.
Start with sterile, polystyrene Petri dishes measuring 100 x 15 mm to hold your growth media, which can be useful for cultivating essential microorganisms.
Use a glass container, like an Erlenmeyer flask, that has a capacity double that of your media for effective mixing and sterilization.
Gather aluminum foil or plastic wrap to cover the container during microwave sterilization, helping to prevent contamination from the surrounding environment.
Ensure you have access to sterilization equipment, such as an autoclave or pressure cooker, which can serve multiple purposes in a prepper’s toolkit.
Finally, have all necessary ingredients ready, including agar powder and distilled water, to create your plates efficiently, allowing for the potential cultivation of useful bacteria or fungi for food preservation or medicinal purposes.
Preparing the Media
Preparing agar media for plates can be an essential skill for survivalists and preppers who want to cultivate their own food sources or conduct experiments.
To ensure accuracy and consistency, start by combining 1 cup (240 ml) of distilled water with 2 1/2 teaspoons (4.6 g) of agar powder in a heat-resistant container—precision is key.
Heat the mixture on a hot plate and bring it to a boil for at least 1 minute, stirring continuously to ensure complete dissolution; if the media appears cloudy, it means it hasn’t mixed properly.
Once fully dissolved, allow it to cool to about 120 °F (49 °C) before pouring approximately 25 mL into each Petri dish.
Let the agar set for 30 minutes before refrigerating the plates upside down, which helps maintain their integrity for future use.
This process can be valuable for those looking to enhance their self-sufficiency skills.
Sterilization Process
To ensure successful food preservation and safety in survival situations, understanding various sterilization techniques and their importance is crucial.
Utilizing methods like boiling or pressure canning helps eliminate harmful bacteria and contaminants, which is vital for maintaining the integrity of your supplies.
Always remember, achieving sterility not only safeguards your provisions but also enhances the reliability of your survival preparations.
Sterilization Techniques Overview
While multiple sterilization methods exist, autoclaving stands out as the gold standard for achieving complete sterilization of supplies.
For homemade solutions, you can also use boiling or a pressure cooker, though these methods may not guarantee total sterilization. When boiling high-salt media, ensure you maintain it for at least 15 minutes to maximize effectiveness.
If using a microwave, cover the container to prevent spillage and maintain safety. To confirm proper sterilization, check that the solution is fully dissolved and clear.
Always practice aseptic techniques by sanitizing your workspace and minimizing air exposure during the pouring process to prevent contamination, especially when preparing essential supplies for survival situations.
Importance of Sterility
Maintaining sterility during the preparation of agar plates is crucial for ensuring reliable results in microbiological experiments. Contamination can undermine your findings, leading to erroneous conclusions about microbial growth.
To achieve sterility, employ effective sterilization techniques such as autoclaving or boiling, depending on the media being used. For high-salt media, boiling may suffice, while other formulations typically require autoclaving for optimal results.
Always ensure that your agar dissolves completely; any cloudiness in the media suggests incomplete dissolution, which can compromise the integrity of your plates.
Furthermore, it’s important to sanitize all surfaces and tools with isopropyl alcohol or diluted bleach to reduce the risk of contamination during the culturing process.
Your attention to detail in these procedures is paramount for success in your microbiological endeavors.
Pouring the Agar Into Plates
Start by ensuring the agar medium has cooled to a safe temperature for handling, which usually takes about 20-30 minutes. This helps prevent condensation and ensures proper setting, much like preparing supplies in survival situations.
Next, follow these essential steps to maintain sterile conditions during the pouring of the agar:
- Sanitize your workspace thoroughly with isopropyl alcohol or a diluted bleach solution to minimize contamination, similar to how you’d clean your prep area before working on essential tasks.
- Pour approximately 25 mL of agar into each 100 mm Petri dish, aiming for a depth of about 1/4 inch (0.64 cm). Think of this process like rationing resources—measure carefully to ensure you have enough for your needs.
- Avoid introducing air bubbles to achieve an even surface, as you’d want to avoid unnecessary complications in any survival scenario.
- Immediately cover the dishes with their lids to protect against contamination, just as you’d secure your food supplies from pests.
Allow the agar plates to sit undisturbed for about 30 minutes to set before placing them into storage, akin to allowing your essential gear to settle before heading into the field.
Storing and Observing Microbial Growth
Once the agar plates have set and cooled, it’s essential to store them properly to maintain their integrity and prevent contamination, especially in a survivalist context where every resource counts.
Store the Petri dishes upside down in a cooler or refrigerator; this minimizes condensation on the agar surface, which can foster unwanted microbial growth.
Typically, you can observe microbial growth within 24 to 48 hours. Pay attention to characteristics like color, shape, and size of colonies, as these reveal valuable insights about the cultured microbes, which could be crucial for understanding potential food sources or medicinal applications in a survival situation.
After your observations, dispose of the used agar plates carefully to avoid contamination in your living environment, and always wash your hands thoroughly after handling any microbial cultures to maintain hygiene and safety.